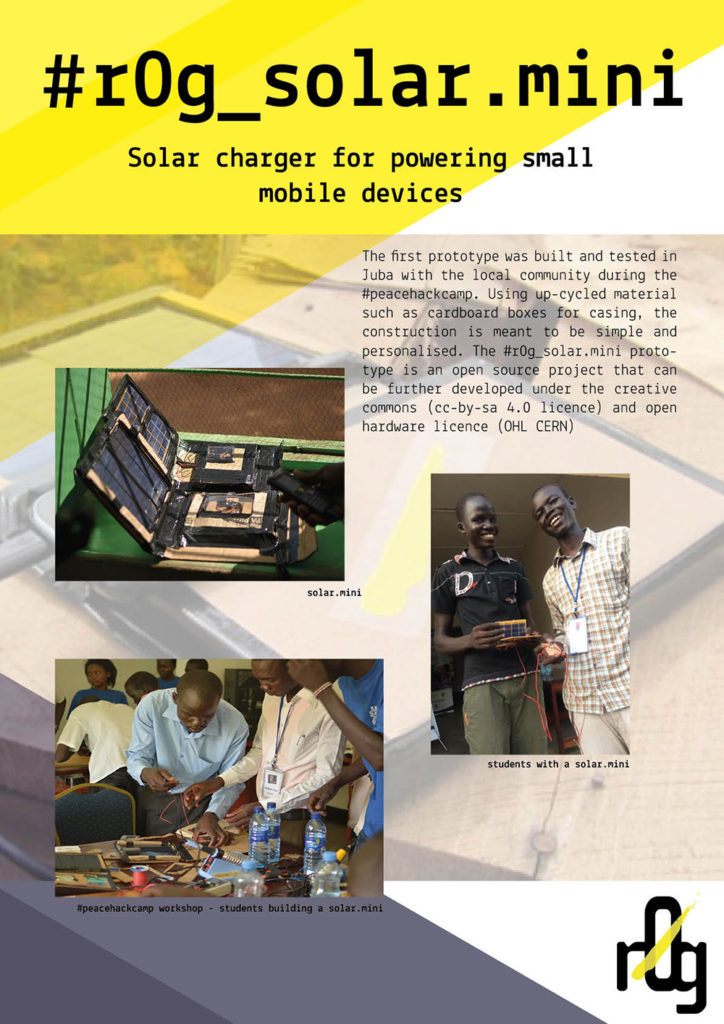
A simple home-made 5V solar power charger suitable for any mobile phone.
Made by a small group of students in Berlin who are also part of the international 'open source ecology' network the r0g_solar.mini is a fast and powerful pocketbook size charger that also simultaneously charges 4 x AA ni-cad batteries.
Although there are numerous mobile solar power chargers on the market, the r0g_solar.mini was developed as a test and demo model of a charger that, with a small amount of training, can be built by anybody and uses common components that are readily available. The design the r0g_solar.mini is also open source, so it's copying, use and distribution - including development and marketing by anybody is both allowed and encouraged.
Let us develop the Solar.mini further at github.com/opencultureagency/Solar.mini/
Refer to Open Hardware Guide for images
Project: Solar Charger Date: 26th November 2016 CC-BY-SA (digital) CERN OHL (hardware) Open Hardware Guide
[Pictures] + Diagram SolarCharger Steps:
- Draw diagram of the charger for easy understanding (optional)
- Open your ASKotek kit for tools
- Get circuit board and solder the diode and LED in place
- Solder the resistor in the front of the LED
- Connect to the LED lights to the negative side
- Solder the capacitors with long side connected to the outer regulator legs
- Fix regulator with black side facing you and connect between diode and resistor
- Connect the other side of the regulator to the capacitor (long side connected)
- Connect all the negatives sides together
- Cross the middle pin to the negative with side to LED
- Behind the diode (1. option) or to the right capacitor connect the positive wire from solar panel
- And the other negative to the negative side
- Connect female USB. Positive on red and negative on black
- Test the Solar Charger in the sun
Tools:
- Color-coded wire (red and black)
- Soldering iron
- Soldering grease
- Soldering Sucker
- Helping hand (magnifier & clamps)
- Soldering wires
Materials
- Solar panel 8V +/- 250mA
- Resistor 1200 Ohm (1. option) Resistor 600 Ohm (2. option)
- 1 Diode
- Capacitor one 10 µF
- Capacitor two 100 µF
- Female USB
- 5V Regulator
- Circuit board
- LED light (red one)
Tips and Usage
- Can be used for charging phones
- Environmentally friendly
- Saves money
- Test with mobile phone or LED light Open for improvements
Build a casing Open Questions: How to find + and – wires on female USB (if not red and black)? What if somebody is surrounded with no material, how to use old electronics?
